How to create a real pencil in Manga Studio
Anyone in the world has used a pencil… What is sure is that a pencil does not draw as most digital software show us… Apart from Corel Painter and Artrage which have great pencil simulations nowadays is very hard to find something feeling and acting as real and not only a fake grainy brush. To tune up a better tool first of all let’s make some empiric observations.
What I want to get…
The results of the settings in Clip Studio Paint 1.3
Gestures and media response
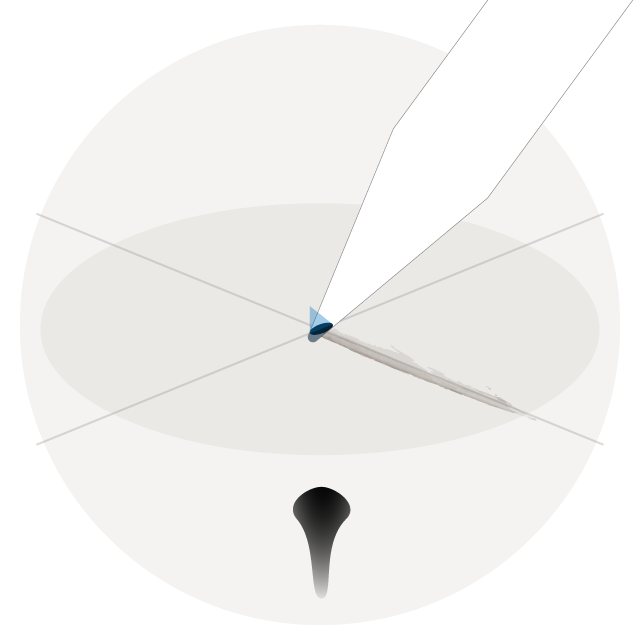
To cover almost all the basic manipulation of a pencil, you need to tilt, rotate e push it on a surface, and these actions change the shape resulting between intersection of the nib and this surface.
This is the first problem: almost all apps approximate this shape to an ellipsis with feathered borders.
This shape gives a nice look to strokes, even paired with a texture, but is not a truly realistic one.
How most digital painting software approximate the nib pressure
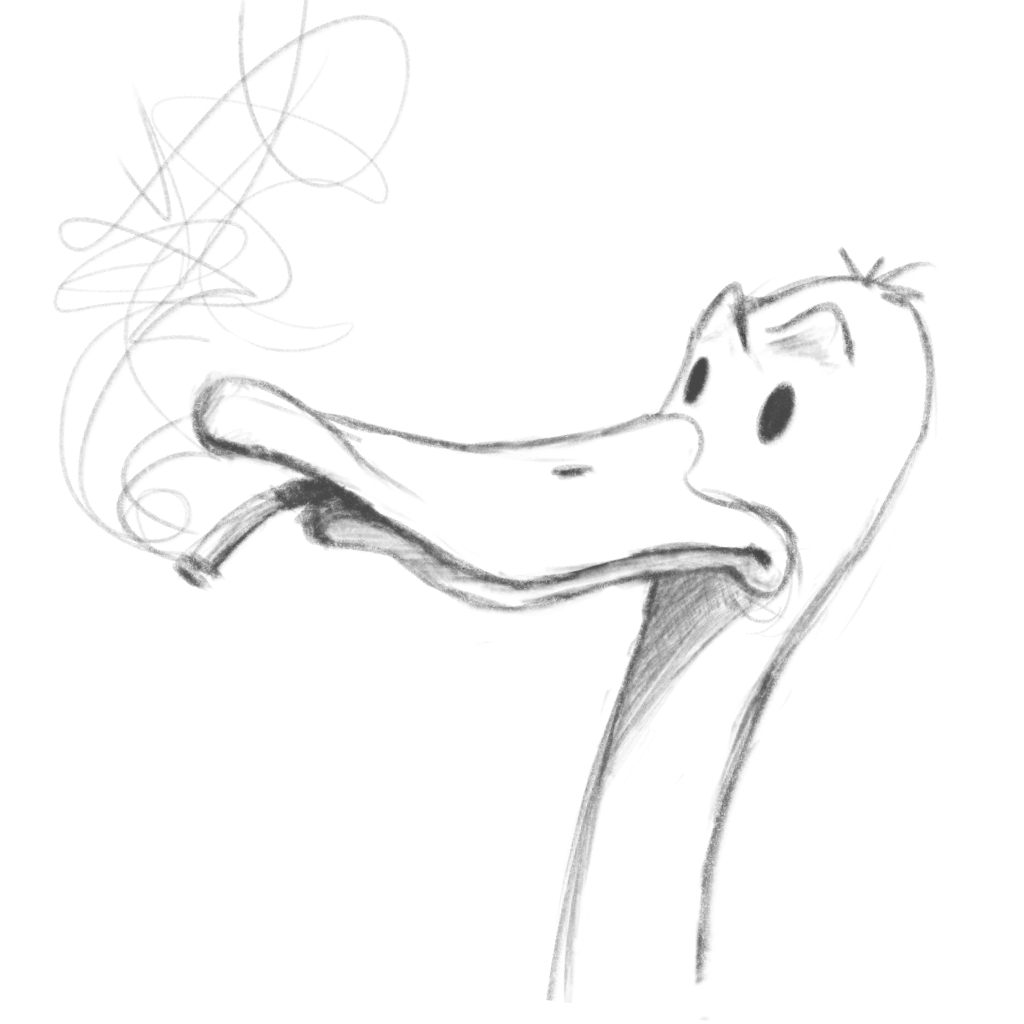
To explain better the real behaviour we can tilt extremely a real “analogue” pencil and notice the tipical shrink of the contact surface toward a line (ideal), in this scenario is clear the distribution of pressure: the stroke leaves more graphite on the very top and gradually less up to the end of the nib, resulting in a sort gradient ribbon.
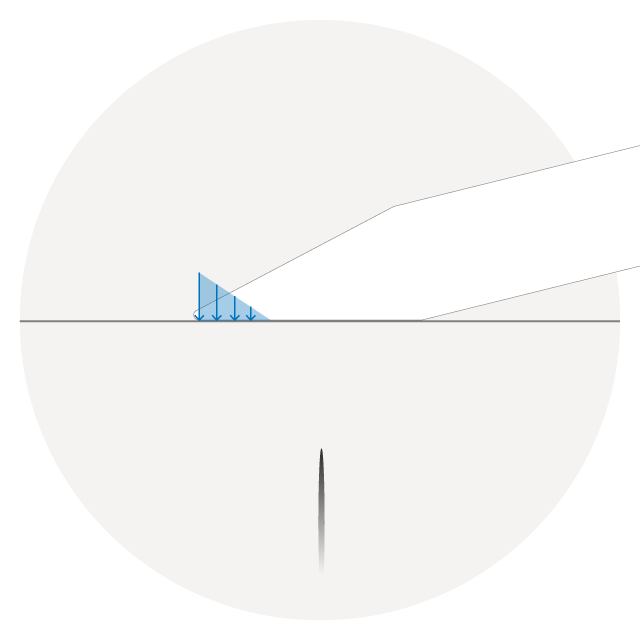
The ideal shape of contact between paper and pencil nib
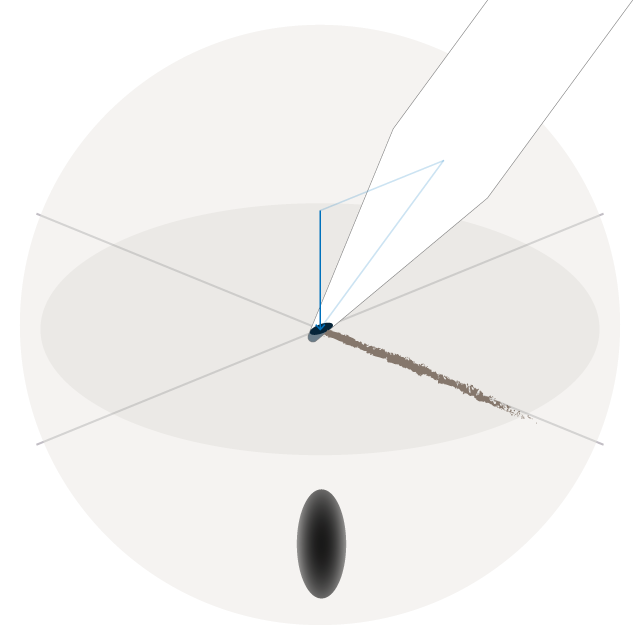
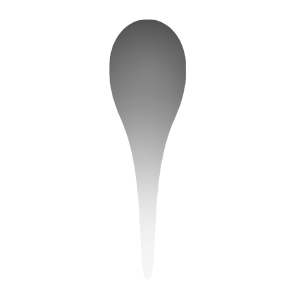
Starting form these observations we can find that a more effective shape is the one produced by a blending between pressure and friction, resulting in a kind of T shaped brush. The top is larger and darker because of pressure (friction wears out more material) , and the bottom gradually thinner.
This is a more effective shape for a pencil brush, the opacity decreases with the width of the nib simulating a more realistic distribution of pressure
Clip studio paint Pro and Manga Studio 5 brush engine
Clip Studio Paint offers a high customizable brush engine, which allows to reach a good feeling, in particular paired with an Intuos Art Pen.
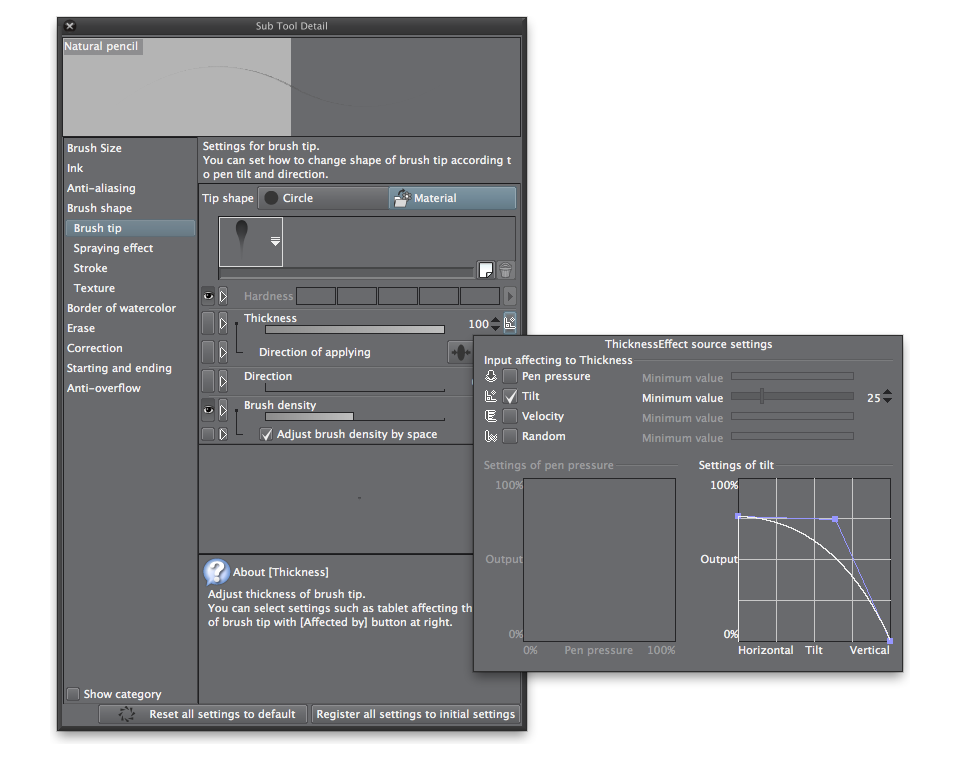
Brush tip
First of all, I’ve reproduced this shape.
The gradient is needed to simulate the loss of pressure, unfortunately there is no commercial technology capable of detecting different pressure levels within the contact shape… But this compromise works great.

From the screenshot above you can see the other settings
Thickness
The most important setting to tune up is the thickness, which has to be linked to tilting, I’ve chosen this type of response curve
Texture
The texture is important, choose the one you like best and link it to pen pressure. I’ve decided to us a quadratic behaviour which sets 100% of texture for light and strong pressure levels.

The resulting brush
You can download the .sut file for free with another bonus brush!
If you own a Wacom Art Pen you can use a great feature as axis rotation. and tweak it as you want!
Want more brushes?